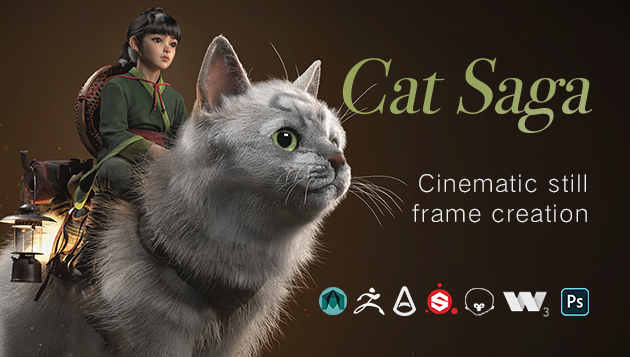
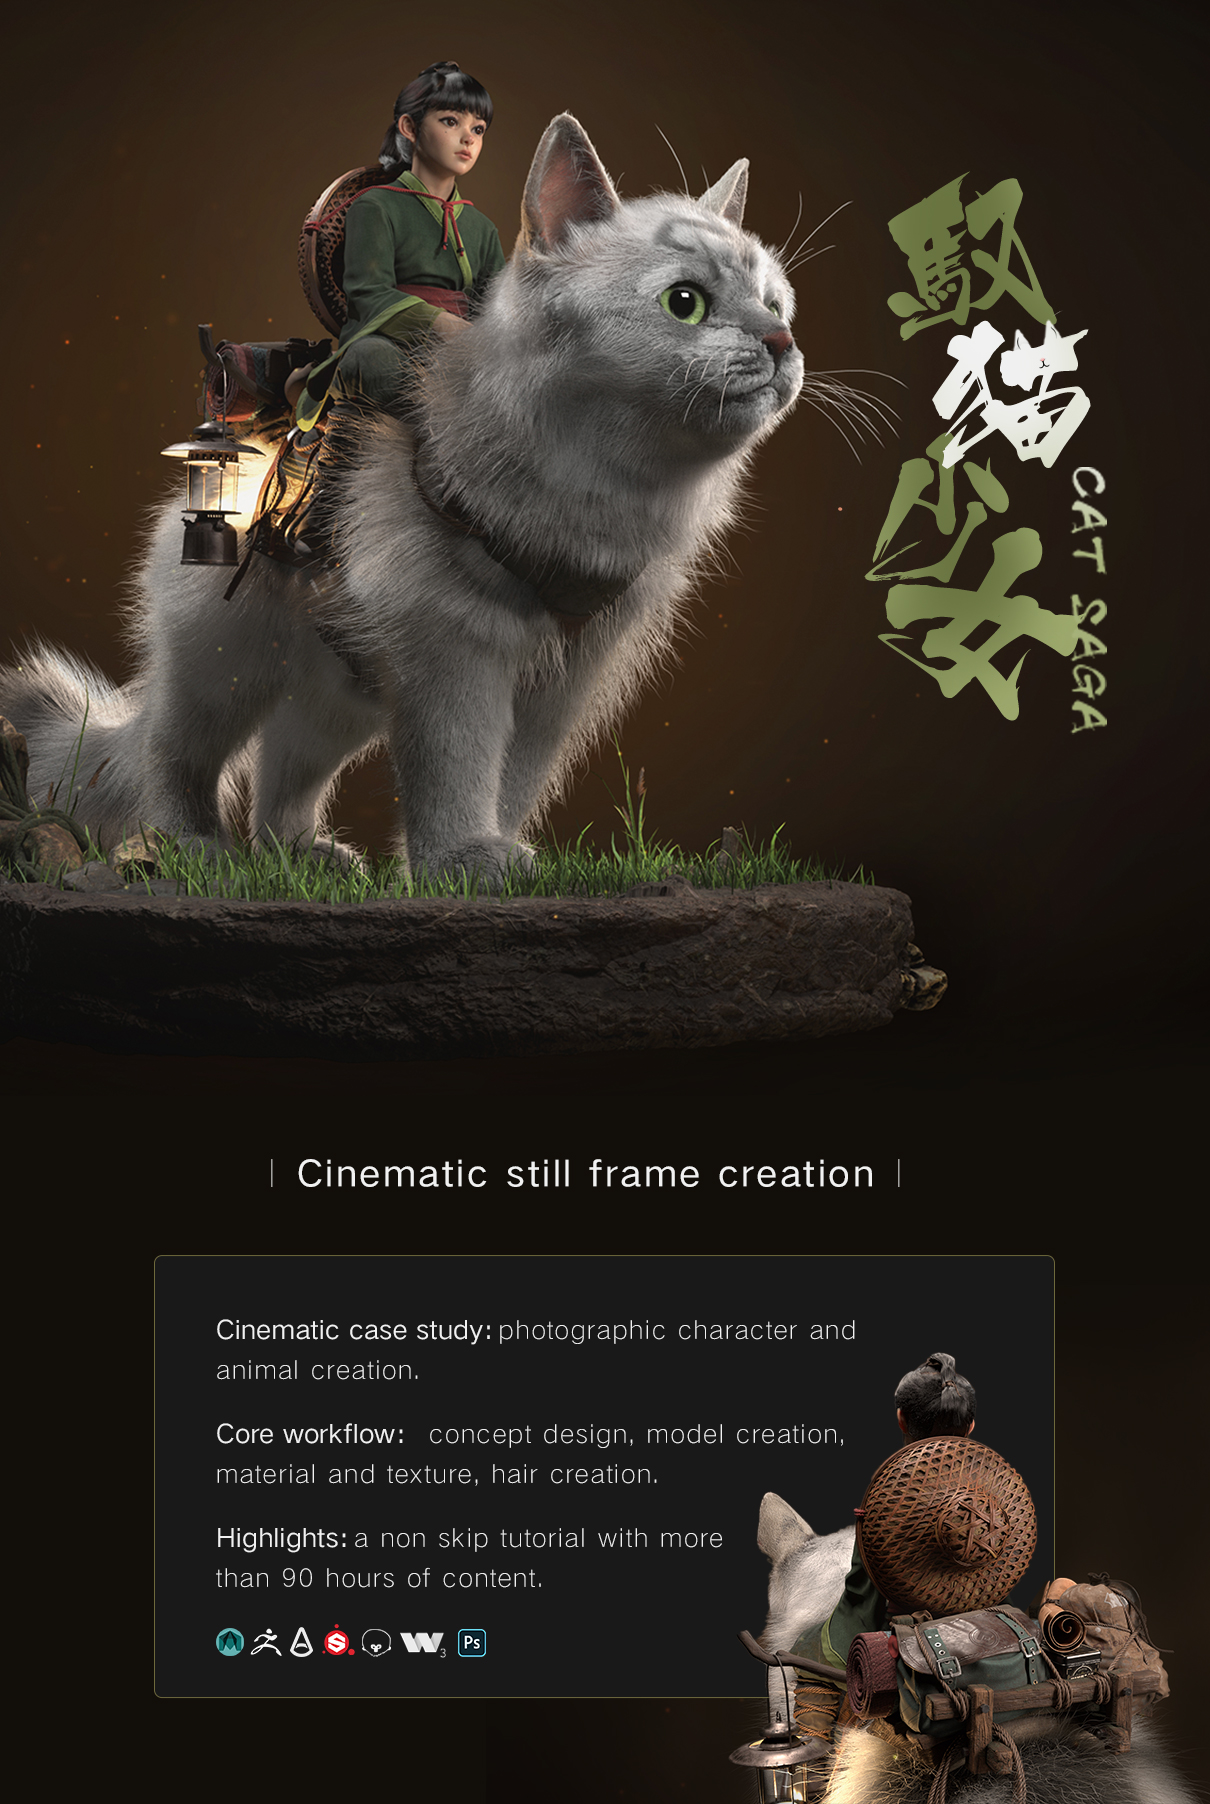
Cat Saga: create advanced 3D concept art model





DOWNLOAD HERE —
| INTRODUCTION |
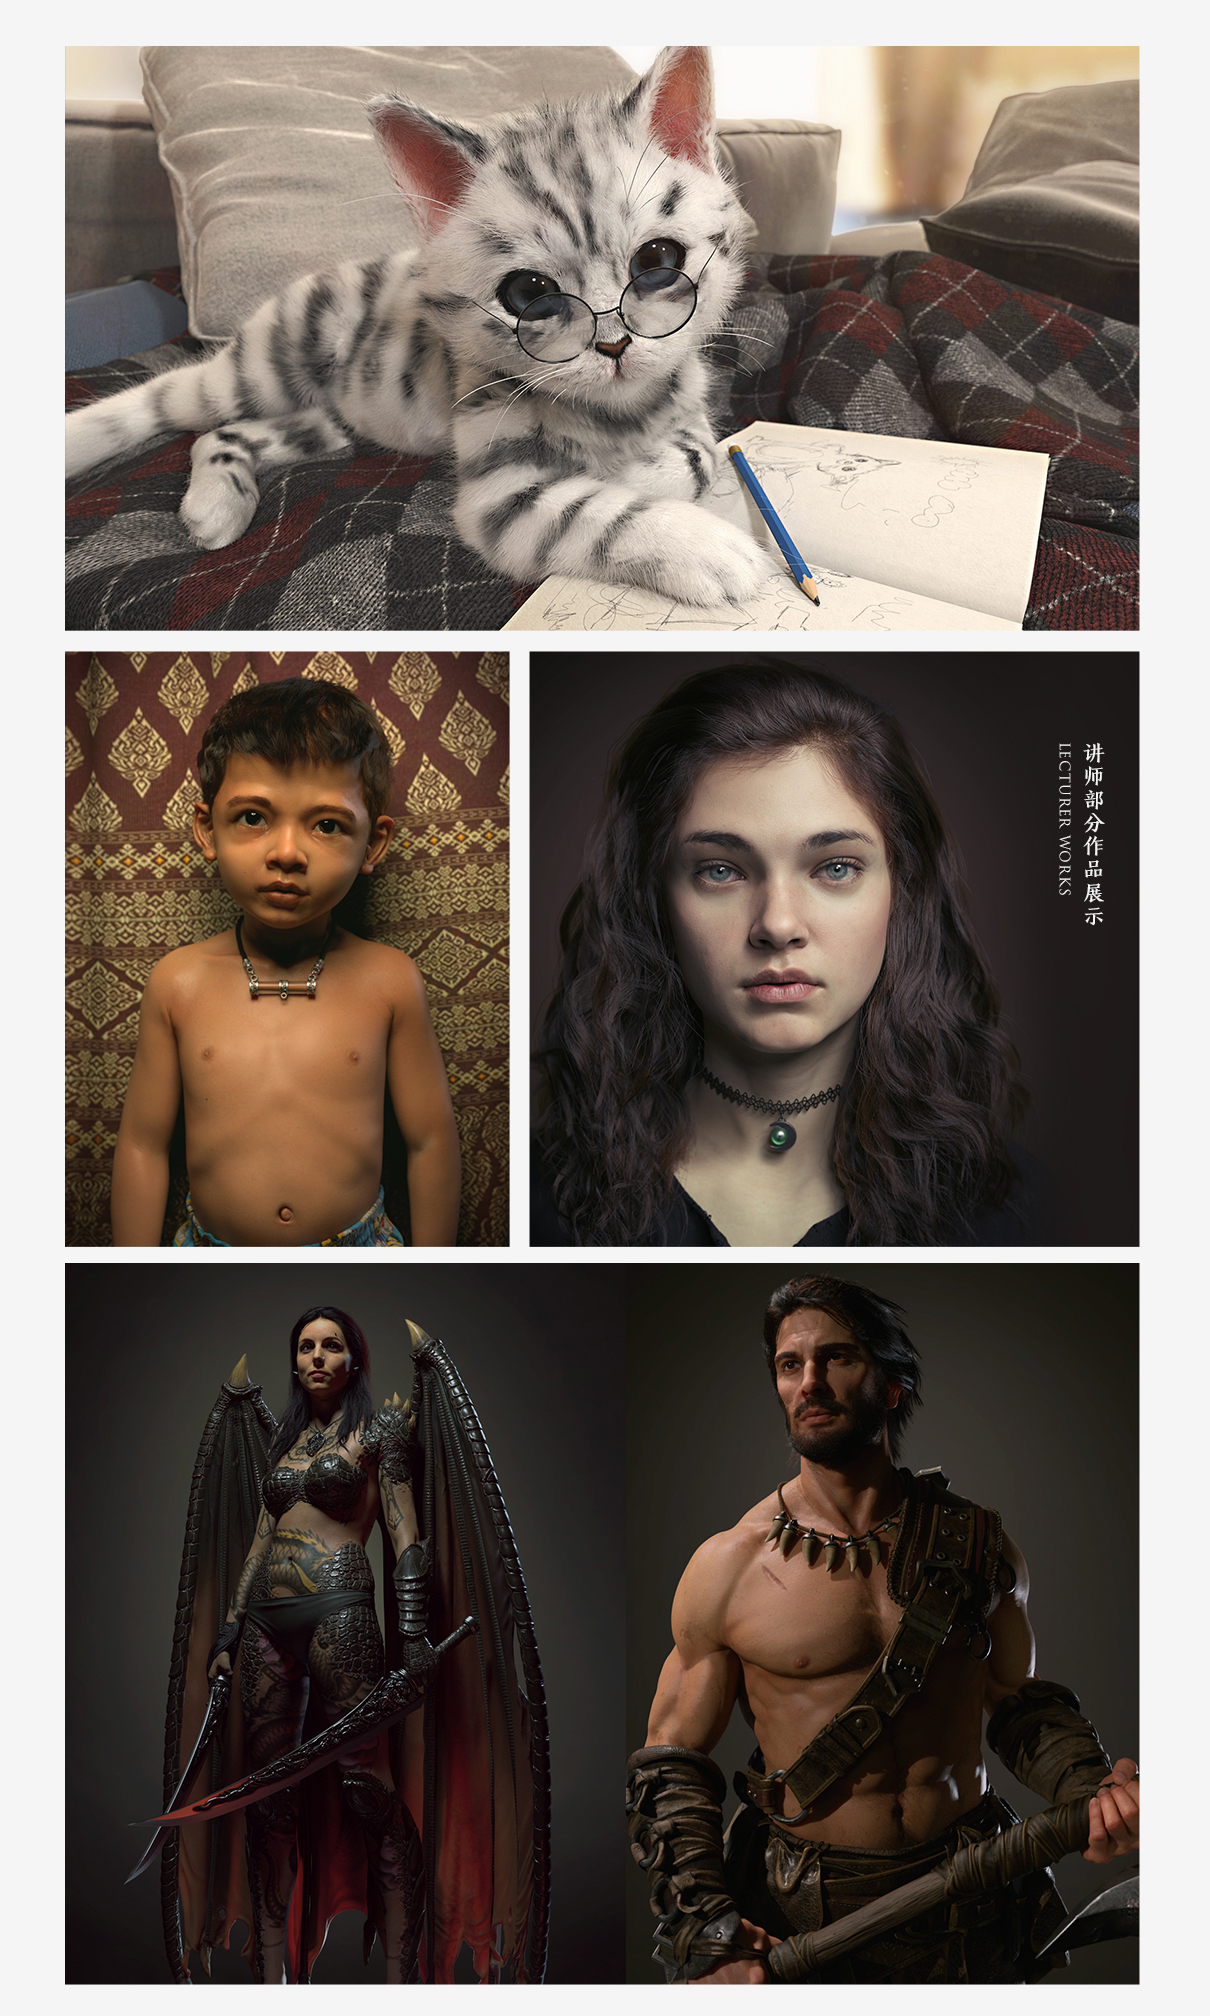
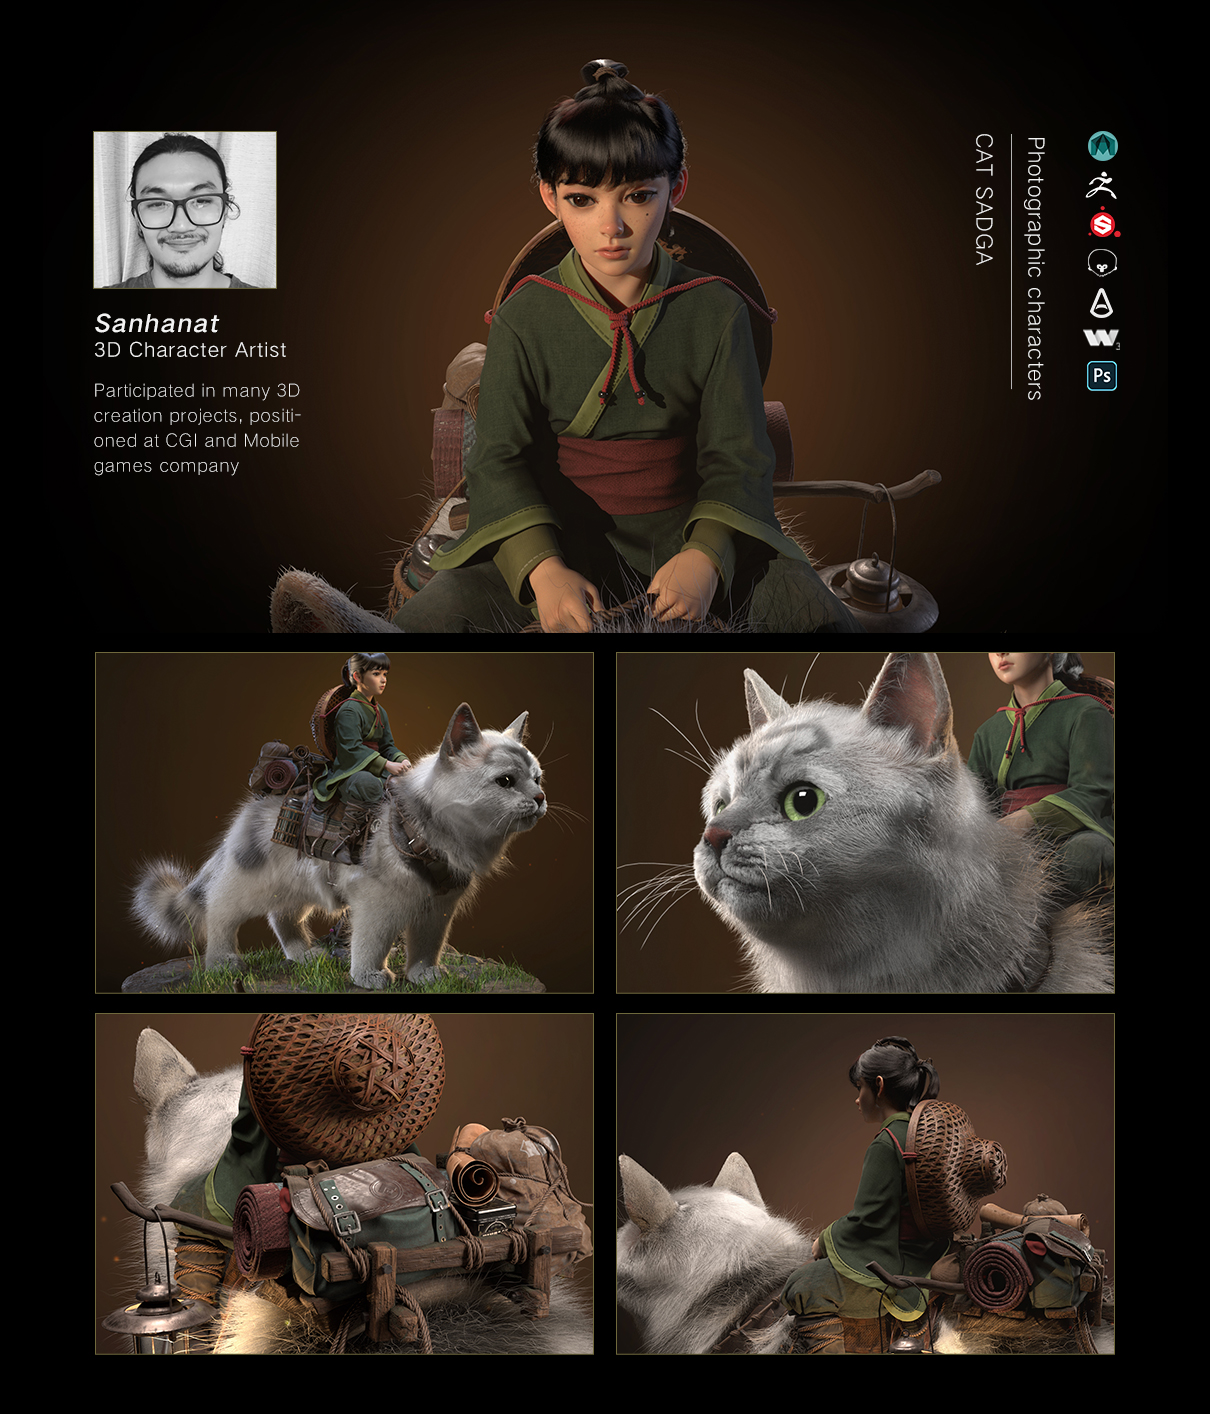
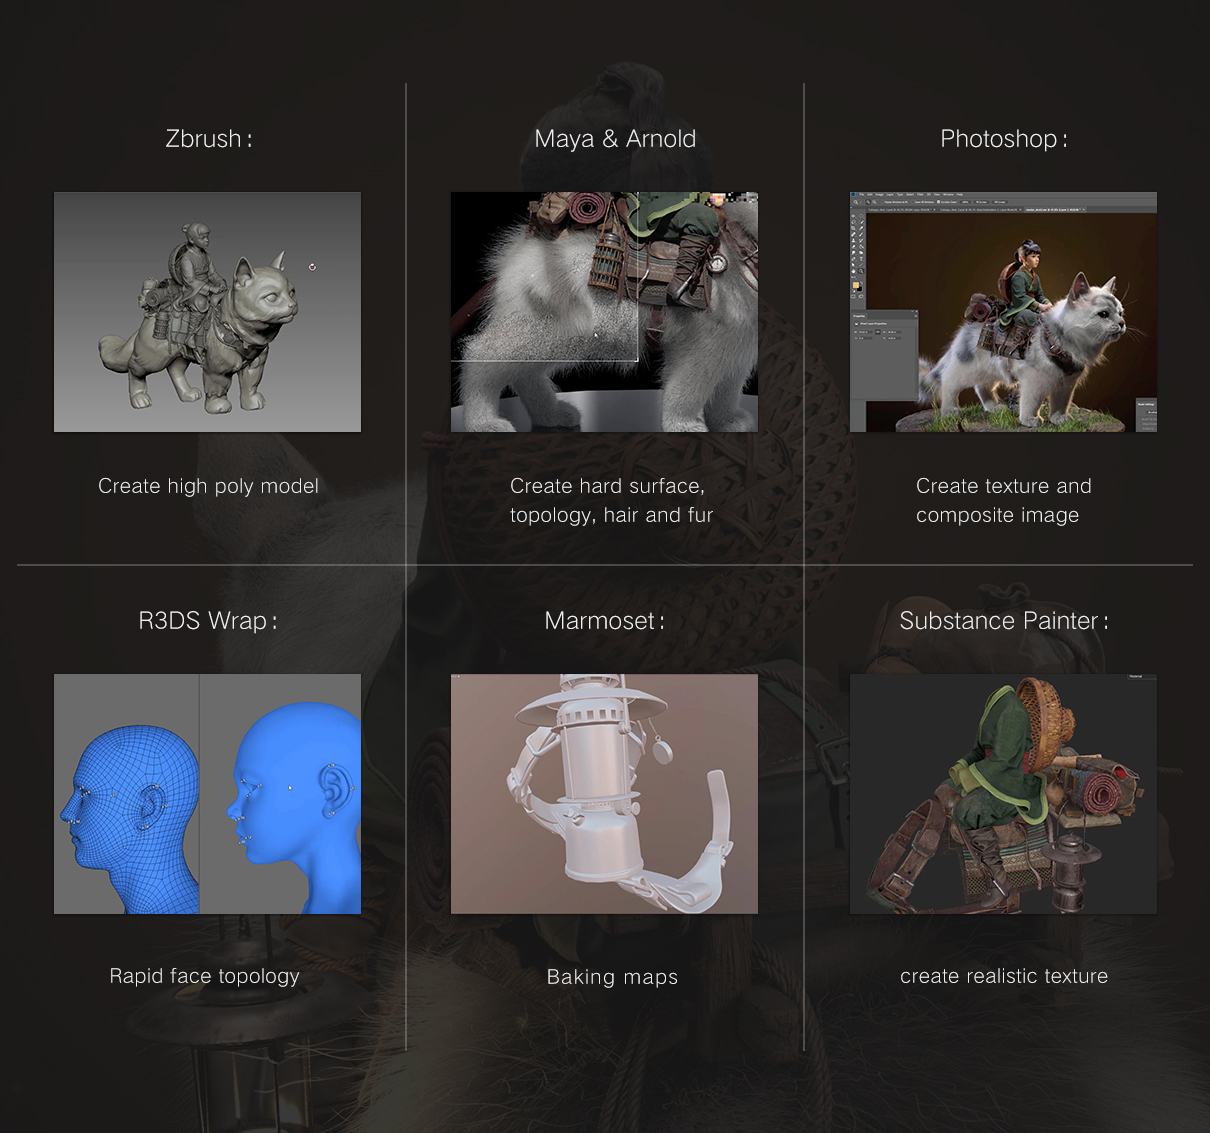
YIIHUU work in conjugation with Sanhanat Suwanwised to present you the exclusive 3D Character Modeling course–Cat Saga: create advanced 3D concept art model. Sanhanat will guide you from early concept reference searching to model creating, topology, texturing, baking, rendering; together, we will create photographic three dimensional animal and character with multiple software.
The concept maps in this tutorial were created by Jakob Eirich
Thailand Senior 3D Character Artist will show you the trick and tips of character creation within more than 90 hours long course.
You’re kindly reminded that:
Please make sure you have mastered the basics of ZBrush and Maya before purchasing this tutorial.
The tutorial will be continuously updated every Thursday. $69 for the top 100,$79 normally updated after the 100,and after the update completed, the price will rise to $119
New tutorials will be available.The course lasts more than 90 hours. The complete model will be attached.
DOWNLOAD HERE —
NOTICE:
STATUS: Update every Thursday
All the tutorials on our website are not available offline,
please sign up an Yiihuu account for watching. (We support sign up with Facebook)
| Tutorial Directory |
- Lesson 1: Intro
- Chapter1 Concept art
- Lesson 2: Concept art introduction
- Lesson 3: Searching references
- Lesson 4: Improve references
- Chapter2 Creating rough blockout
- Lesson 5: Shape construction
- Lesson 6: Scale adjustment
- Lesson 7: Slash Brush
- Lesson 8: Adjustment
- Lesson 9: Details
- Lesson 10: Basic outline completed
- Chapter3 Adding more details to the blockout
- Lesson 11: Add detail to the blockout
- Lesson 12: Shape
- Lesson 13: Modify the clothing according to the reference
- Lesson 14: Modify the details according to the reference
- Lesson 15: Skin Wrinkles
- Lesson 16: Add detail to cat face
- Lesson 17: Parts
- Chapter4 Sculpting high poly
- Lesson 18: Carving
- Lesson 19: Clothing
- Lesson 20: Sleeve part1
- Lesson 21: Sleeve part2
- Lesson 22: Belt
- Lesson 23: Pants and shoes
- Lesson 24: Pants and laces
- Lesson 25: boots
- Lesson 26: Sole
- Lesson 27: Horse pedal
- Lesson 28: Head
- Lesson 29: Hair and eyes
- Lesson 30: Saddle part1
- Lesson 31: Saddle part2
- Lesson 32: cushion
- Lesson 33: Rope
- Lesson 34: Straps and buckles
- Lesson 35: Mat
- Lesson 36: Mats and stands
- Lesson 37: Bracket part1
- Lesson 38: Bracket part2
- Lesson 39: Fabric bag
- Lesson 40: Backpack
- Lesson 41: Backpack details
- Lesson 42: Cloth bag details part1
- Lesson 43: Cloth bag details part2
- Lesson 44: Hands
- Lesson 45: Scroll
- Lesson 46: Scroll Rope
- Lesson 47: Containers, wooden baskets
- Lesson 48: Wooden Basket Handle
- Lesson 49: Combination
- Lesson 50: Strap
- Lesson 51: Box
- Lesson 52: References
- Lesson 53: Lampshade part1
- Lesson 54: Lampshade part2
- Lesson 55: Lampshade Handle
- Lesson 56: Rope
- Lesson 57: Detail adjustment
- Lesson 58: Stretch rope part1
- Lesson 59: Stretch rope part2
- Lesson 60: Ropes
- Lesson 61: Features
- Lesson 62: Belt
- Lesson 63: Bamboo hat references
- Lesson 64: Bamboo hat
- Lesson 65: Shaping Bamboo Hat
- Lesson 66: Inside edge of bamboo hat
- Lesson 67: Bamboo hat top
- Lesson 68: Bamboo hat brim
- Lesson 69: Hat Cord
- Lesson 70: Detail modification
- Lesson 71: Belt Details
- Lesson 72: Clothing details
- Lesson 73: Trousers Details
- Lesson 74: Detailed inspection
- Lesson 75: Render View
- Lesson 76: Face Mesh
- Lesson 77: Facial Details
- Lesson 78: Hand details
- Lesson 79: Cat Details
- Lesson 80: Overall Detail Adjustment
- Chapter5 Creating low poly and Creating UV
- Lesson 81: Sleeves and trousers
- Lesson 82: Ropes and brackets
- Lesson 83: Clothing UV Map
- Lesson 84: UV Map for Lower Body Part1
- Lesson 85: UV Map for Lower Body Part2
- Lesson 86: Saddle parts
- Lesson 87: Saddle UV Map
- Lesson 88: Saddles and straps
- Lesson 89: Straps and lampshades
- Lesson 90: Lampshade
- Lesson 91: Parts
- Lesson 92: Details adjustment
- Lesson 93: Cloth bag and stand
- Lesson 94: Bamboo hat
- Lesson 95: Refinement of the lampshade
Chapter6 Baking
Lesson 96: Check the model
Lesson 97: Clothing baking
Lesson 98: Saddle baking
Lesson 99: Accessories baking part1
Lesson 100: Accessories baking part2
Lesson 101: Accessories baking part3
Lesson 102: Scroll and stand baking
Chapter7 Creating texture and Creating scene in Maya
Lesson 103: Selecting
Lesson 104: Clothing texture creation part1
Lesson 105: Clothing texture creation part2
Lesson 106: Lining texture creation part1
Lesson 107: Lining texture creation part2
Lesson 108: Pants and boots texture creation
Lesson 109: Banding Texture Creation
Lesson 110: Compass texture creation
Lesson 111: Other accessories texture creation
Lesson 112: Cloth and bracket texture creation
Lesson 113: Texture adjustment
Lesson 114: Scroll and box texture creation
Lesson 115: Logo texture creation and detail adjustment
Lesson 116: Cloth texture creation part1
Lesson 117: Cloth texture creation part2
Lesson 118: Details adjustment
Lesson 119: Rendering editor Hypershade part1
Lesson 120: Rendering editor Hypershade part2
Lesson 121: Texture adjustment part1
Lesson 122: Texture adjustment part2
Lesson 123: complete
Chapter8 Testing material
Lesson 124: Eyelashes and eyebrows
Lesson 125: Lips
Lesson 126: Overall adjustment
Lesson 127: Details adjustment
Chapter9 Creating hair and fur,Polishing the portrait,Creating the ground
Lesson 128: Smooth cat surface
Lesson 129: Details adjustment
Lesson 130: Cat head
Lesson 131: Cat head hair creation
Lesson 132: Cat fur adjustment part1
Lesson 133: Cat fur adjustment part2
Lesson 134: Cat fur creation part1
Lesson 135: Cat fur creation part2
Lesson 136: Cat fur Adjustment part1
Lesson 137: Cat fur Adjustment part2
Lesson 138: Fur adjustment at seams and edges part1
Lesson 139: Fur adjustment at seams and edges part2
Lesson 140: Cat head details
Lesson 141: Adjustment
Lesson 142: Modify at the strap
Lesson 143: Further adjustment of fur at seams and edges
Lesson 144: Adjustment at the ear
Lesson 145: Fur pattern creation
Lesson 146: Rendering editor Hypershade part1
Lesson 147: Rendering editor Hypershade part2
Lesson 148: Face orientation adjustment part1
Lesson 149: Face orientation adjustment part2
Lesson 150: Face Refinement part1
Lesson 151: Face Refinement part2
Lesson 152: Face Refinement part3
Lesson 153: Details
Lesson 154: Hair
Lesson 155: Bangs
Lesson 156: Hair bundle Creation
Lesson 157: Hair bundle adjustment
Lesson 158: Hair tail
Lesson 159: Overall Hair Adjustment part1
Lesson 160: Overall Hair Adjustment part2
Lesson 161: Analysis
Lesson 162: Eyebrows
Lesson 163: Cat’s Eye
Lesson 164: Cat face pattern refinement
Lesson 165: Cat Face Detail Adjustment
Lesson 166: Grooming
Lesson 167: Cat body finishing part1
Lesson 168: Cat body finishing part2
Lesson 169: Setting the ground
Lesson 170: Landscape Pedal stone carving
Lesson 171: Landscape Pedal stone Texture
Lesson 172: Trunk Modeling
Lesson 173: Blade creation
Lesson 174: Trunk carving
Lesson 175: Tree vine modeling
Lesson 176: Tree vine texture
Lesson 177: Vegetation
Chapter10 Render and Composite
Lesson 178: Lighting
Lesson 179: Lighting settings
Lesson 180: Color of light
Lesson 181: Angle adjustment
Lesson 182: Camera settings
Lesson 183: Rendering settings
Lesson 184: Correction
Lesson 185: Adjust light and shade with PS
Lesson 186: Adjustment
Lesson 187: Adjust the picture with PS
Lesson 188: Adjust color with PS
Lesson 189: Adjust with PS details part1
Lesson 190: Adjust with PS details part2
Lesson 191: Rendering
Lesson 192: Photo modification and export
Lesson 193: Thank you for watching
RECOMMENDED TUTORIALS–
Submit your videos-
Whoever want to submit videos whether they are CGARTIST,STUDIO,SCHOOL,INSTITUTE,COLLEGE, to publish there work in our youtube channel and website It can be anything like your demoreel,shortfilm,vfxbreakup,making etc. Please submit here in our forum link is below.
Forum — www.cg3dankfun.com
****************************************************
Website is full of contents just because of your help and support.If have any issue please let us know.
If have any issue regarding publish please mail us on below email id.
Please mail us — [email protected]
–**Checkout our website to know more— http://www.cg3dankfun.com/
Follow us on—-
Facebook page–https://www.facebook.com/cg3dankfun/
instagram–https://www.instagram.com/cg3dankfun/
Twitter–https://twitter.com/cg3dankfun


